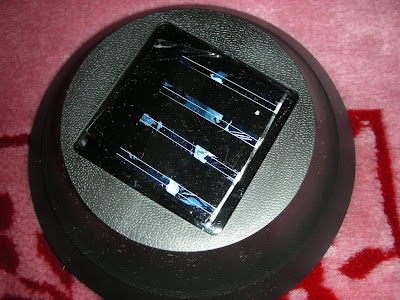
The garden solar lights actually come in parts that you assemble at home. Tis is the only part that you care about. Top view of the solar panel.
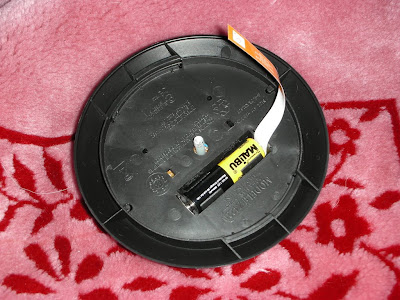
This is what the bottom of the light looks like. Tiny single LED light.
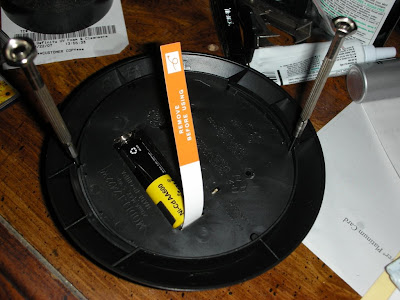
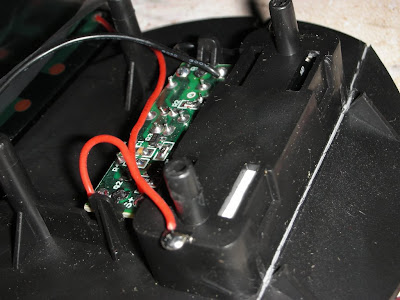
You need to gut the actual components out of the black plastic shell. The easiest way I found to do this was to use two small screwdrivers to pop the innards out.

The panel will conveniently dangle around afterwards because the support is no longer there.
Trust me, you want to use an X-acto knife for this. I used scissors for the first one and it was annoying. I even went back and cleaned up the prototype using the X-acto knife I bought. Make sure you use cardboard or something underneath in case you cut through.
Rather than cutting completely through with the knife, etch until you have a nice crevice and simply bend the plastic.
If there's something holding the circuit board in place, like on mine, take care to cut all ties to the plastic and carefully remove the board.
Repeat the processes until all unnecessary plastic has been removed. My battery holder is built into the plastic holder, so I cut around it.
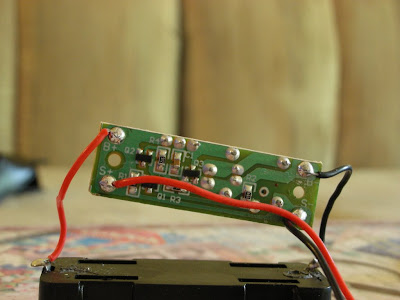
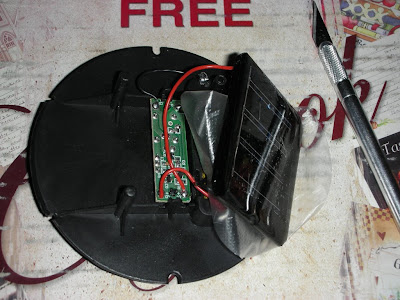
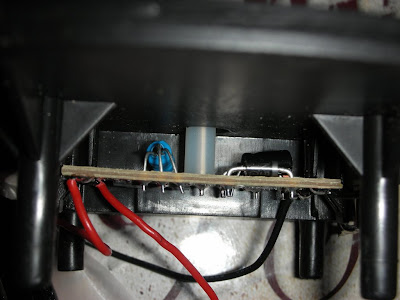
You should now have only the electrical components and the plastic battery holder.

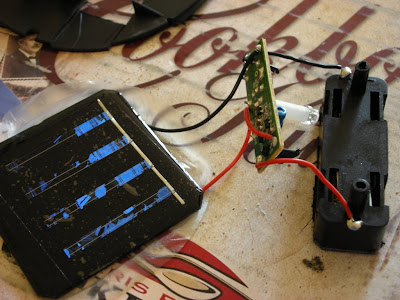
Use some electrical tape or whatever you want to rig the whole thing together to make it stable. I've taped the battery down to the back of the solar panel.

Tape didn't seem to hold the panels well enough to the lid of the jar. I went with super glue, and it's been holding up quite nicely. A downside though, is that all part of the glue that's exposed to air gets a whitish color to it. There's special glass super glue that dries clear that can be found at craft stores.
That's it! Feel free to decorate the jar however you'd like. I went looking for some glass frosting today to give it a hazy look, but the store didn't have any -_- You can check out all the pics on my Picasa album.
No comments:
Post a Comment